0x01 漏洞描述
Apache ActiveMQ 是美国(Apache)基金会的一套开源的消息中间件,它支持 Java 消息服务、集群、Spring Framework 等。
ActiveMQ 默认开放了 61616 端口用于接收 OpenWire 协议消息,由于针对异常消息的处理存在反射调用逻辑,攻击者可能通过构造恶意的序列化消息数据加载恶意类,执行任意代码。
0x02 影响版本
Apache ActiveMQ < 5.18.3
Apache ActiveMQ < 5.17.6
Apache ActiveMQ < 5.16.7
Apache ActiveMQ < 5.15.16
0x03 环境搭建
activemq-5.18.2
版本:activemq-5.18.2
地址:https://activemq.apache.org/components/classic/download/classic-05-18-02
进到bin目录下,使用activemq start命令启动

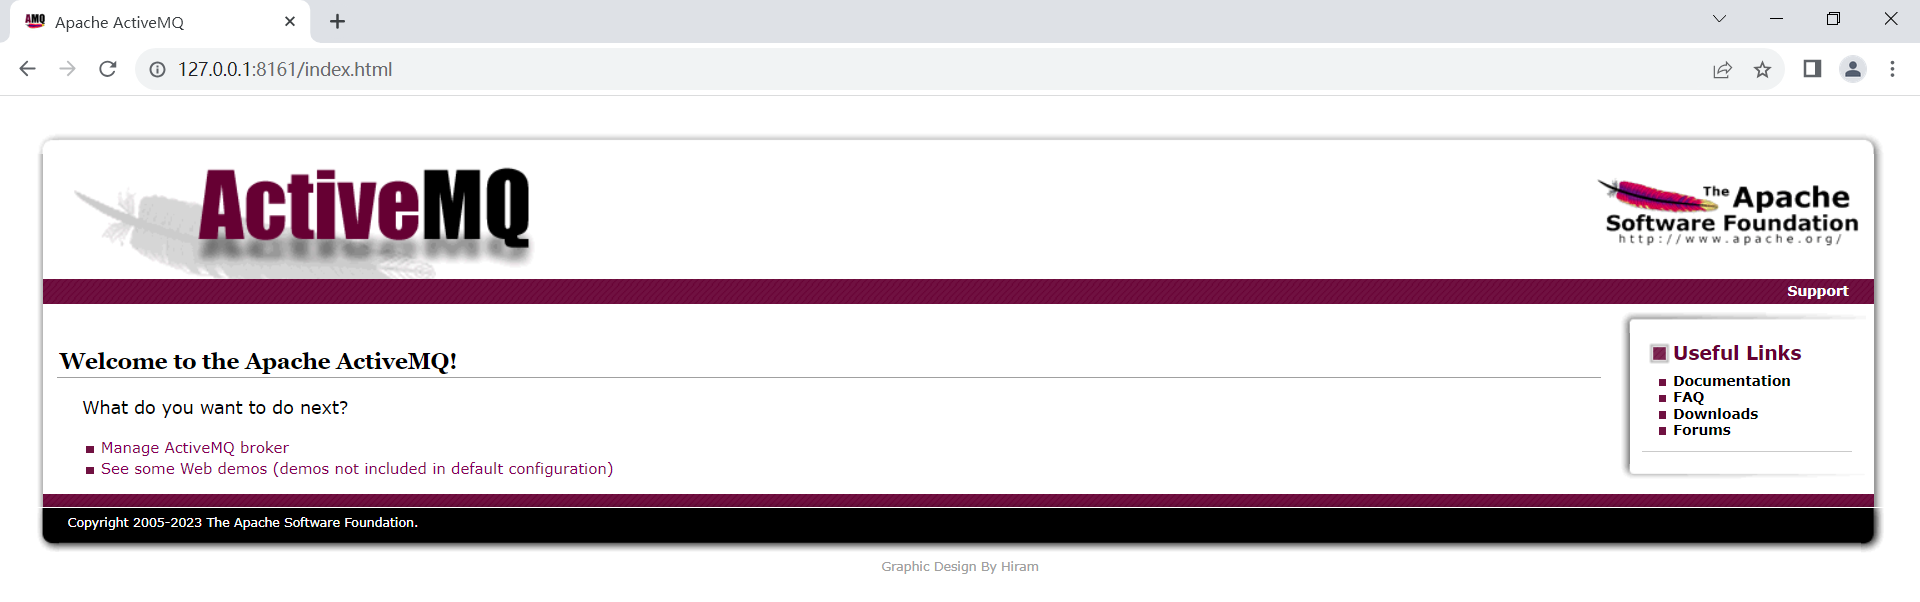
访问http://ip:8161,admin/admin。访问到如下页面搭建成功
javaDemo
导入依赖
1 | <dependency> |
javaDemo
1 | import org.apache.activemq.ActiveMQConnectionFactory; |
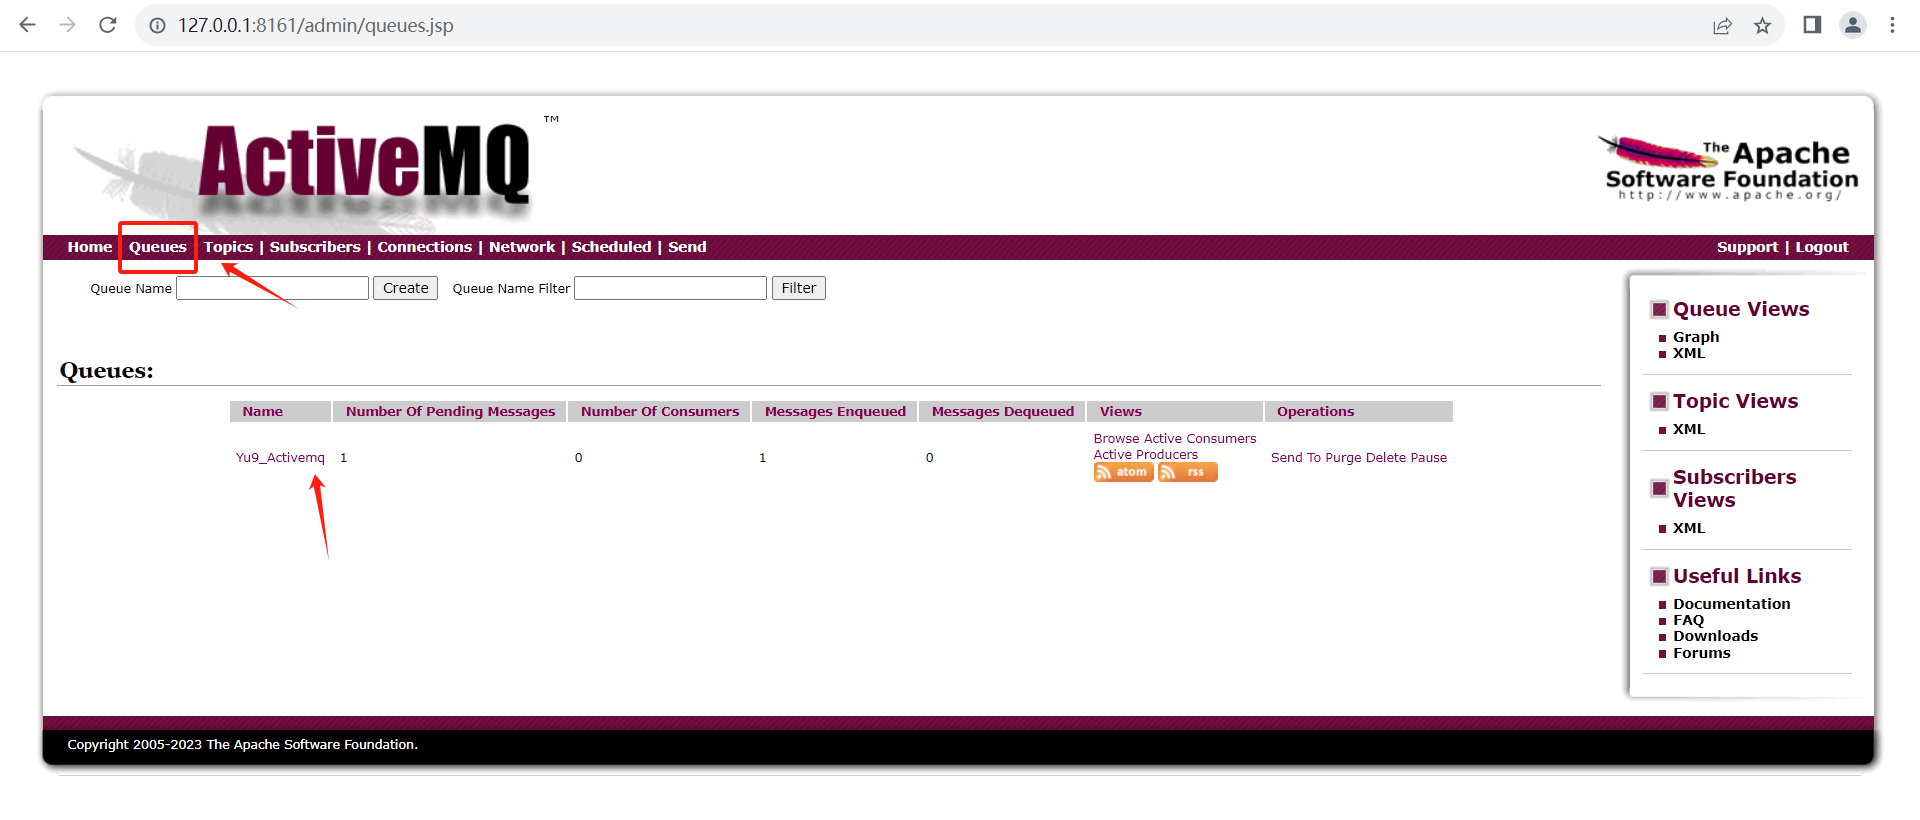
运行之后出现如下场景就是创建成功!
0x04 分析
可以看到新版的修复是在org.apache.activemq.openwire.v(1).BaseDataStreamMarshaller#createThrowable
参考:https://github.com/apache/activemq/commit/958330df26cf3d5cdb63905dc2c6882e98781d8f
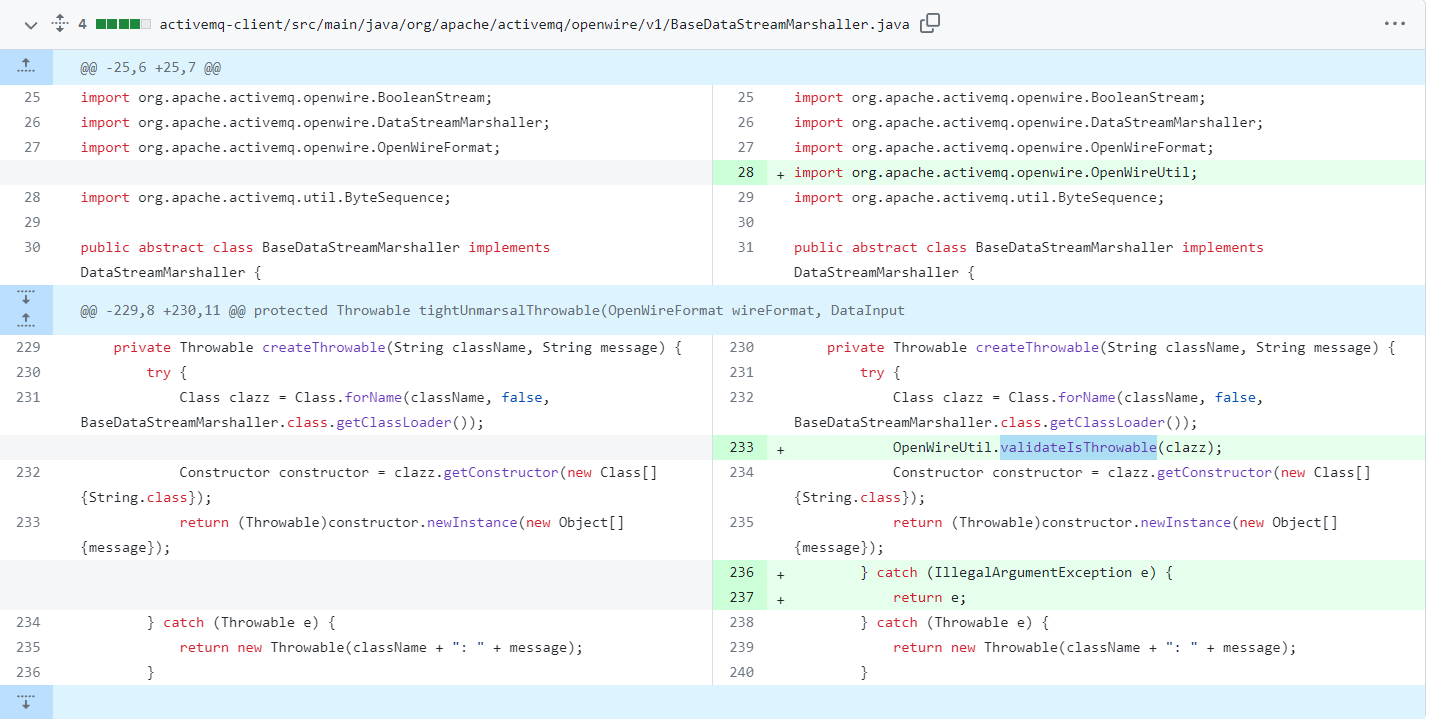
先不管这块如何修复的(后边再分析),从左边这块就可以看出来:若ClassName 和 message 可控,那就可以调用任意类的 String 构造方法
然后,AvtiveMQ 内置 Spring,结合 org.springframework.context.support.ClassPathXmlApplicationContext 加载远程配置文件实现 SPEL 表达式注入。
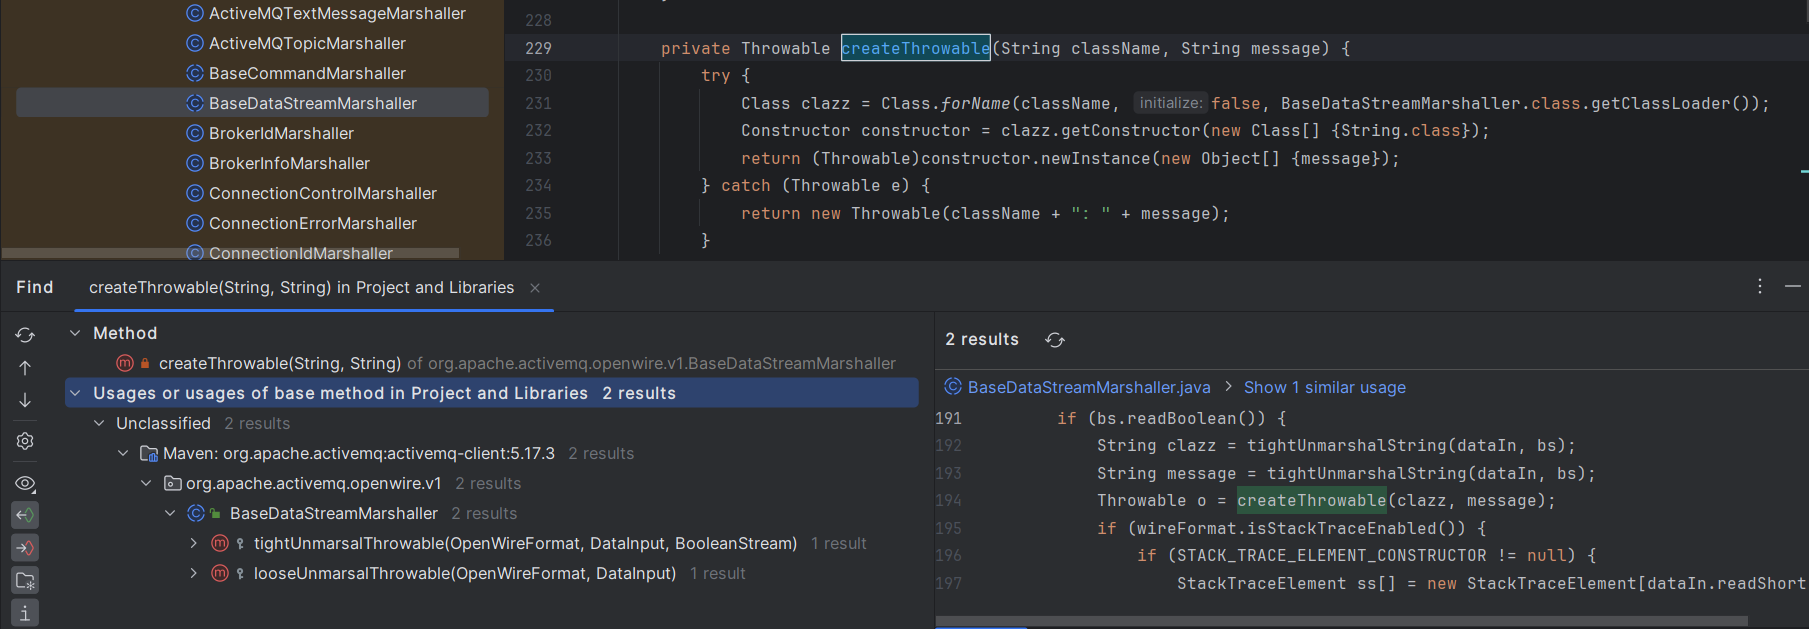
所以现在七七八八可以确定createThrowable就是触发点,那现在就向上寻找调用链
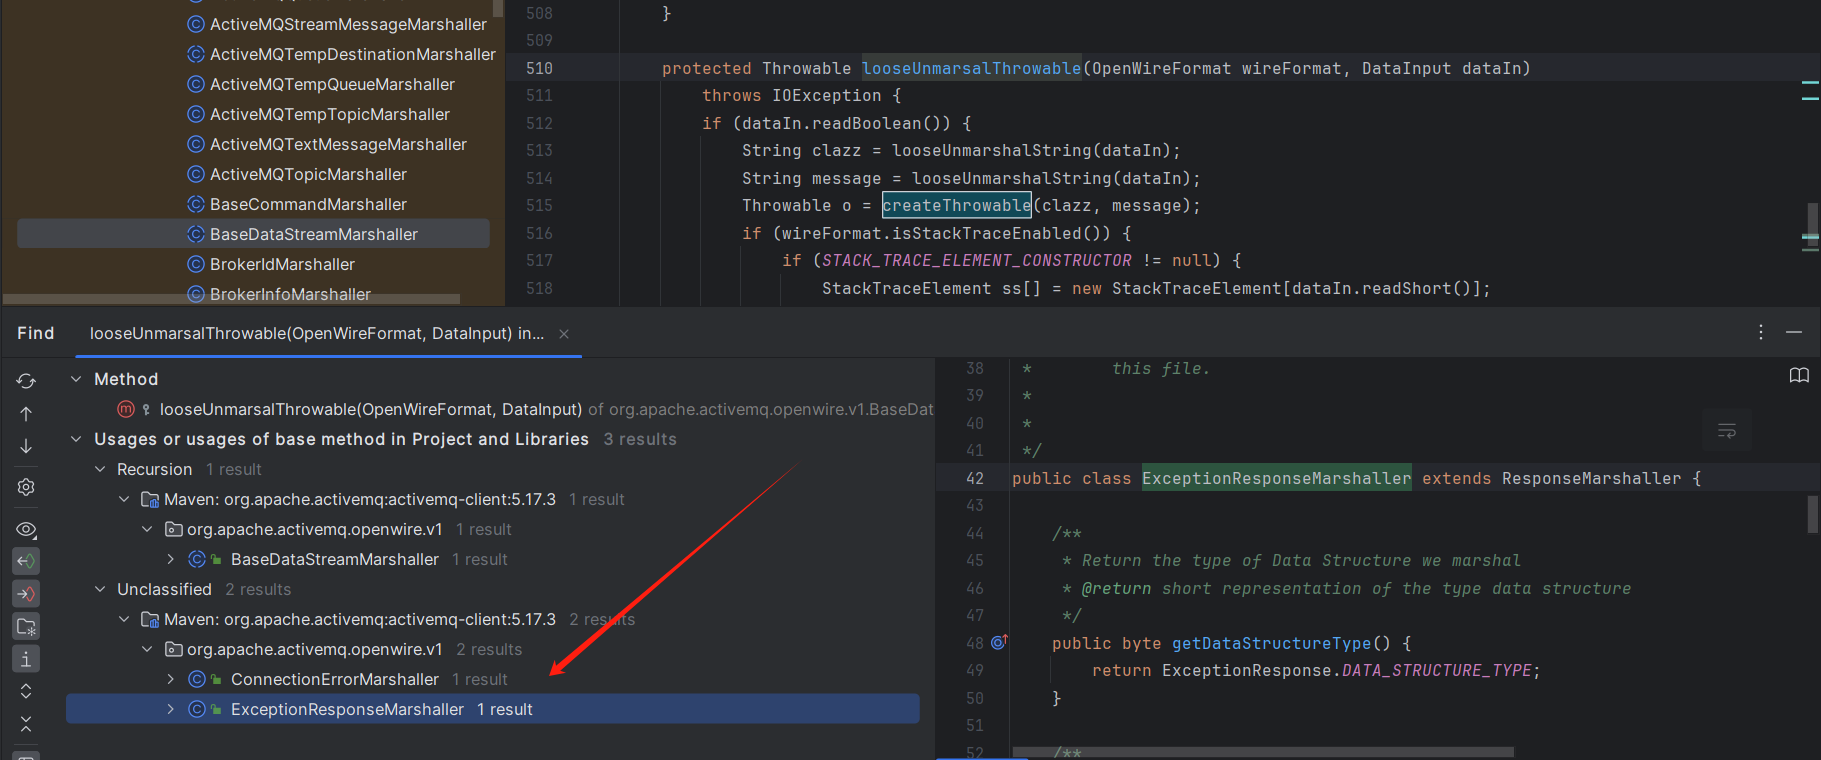
继续寻找createThrowable`的调用处
ALT+F7,可以看到被两个方法调用了,在org.apache.activemq.openwire.v1.BaseDataStreamMarshaller包下的tightUnmarsalThrowable/looseUnmarsalThrowable
我们先以 looseUnmarsalThrowable 为例,继续向上寻找
网上大部分都选用了 ExceptionResponseMarshaller,org.apache.activemq.openwire.v1.ExceptionResponseMarshaller#looseUnmarshal,咱也就站在巨人的肩膀上,也分析它
到目前咱们的链子还是很清晰的
1 | ExceptionResponseMarshaller#looseUnmarshal |
接着顺着这个链子我们在详细分析一下:
1)ExceptionResponseMarshaller 顾名思义就是对 ExceptionResponse 进行序列化/反序列化的类
ExceptionResponseMarshaller 这个类, 它是 BaseDataStreamMarshaller 的子类,其中tightUnmarshal/looseUnmarshal 方法会调用 tightMarshalThrowable/looseMarshalThrowable, 最终调用到 BaseDataStreamMarshaller#createThrowable 方法
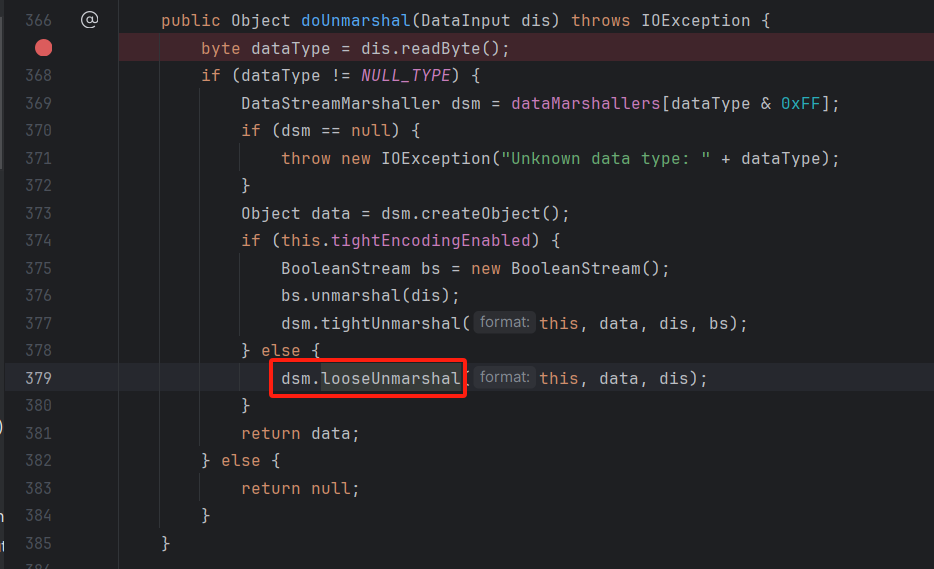
2)在BaseDataStreamMarshaller中有若干 Marshal/unmarshal 方法,接下来看看BaseDataStreamMarshaller#looseUnmarsalThrowable,在方法内部会获取 clazz 和 message, 然后调用 createThrowable
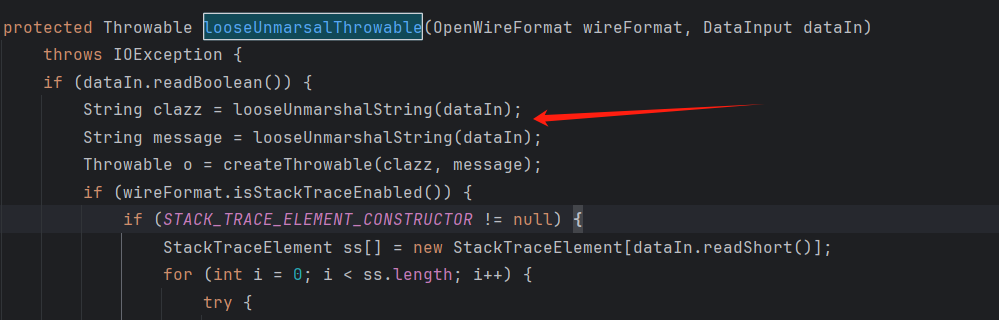
找到对应的looseMarshalThrowable,这块就是将 o 的 className 和 message 写入序列化流
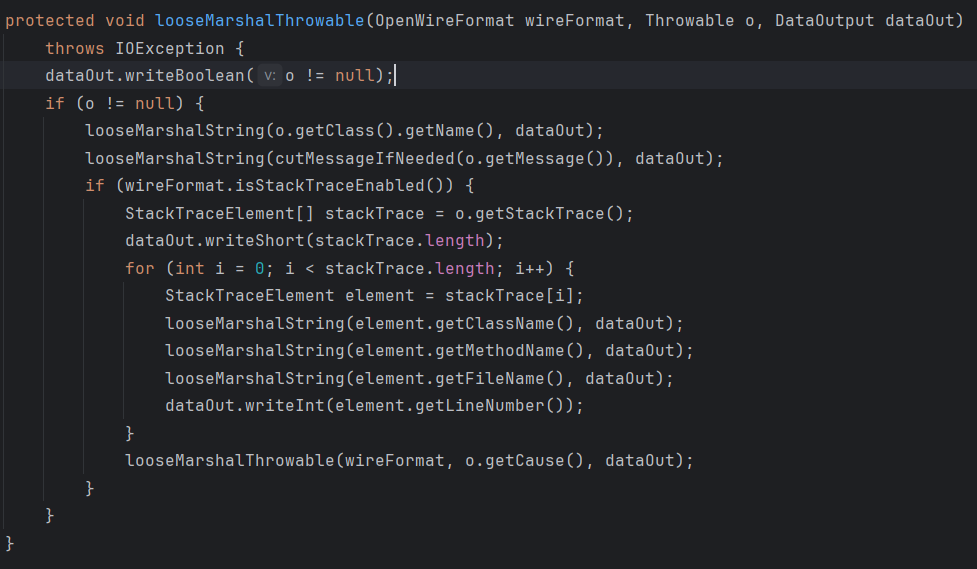
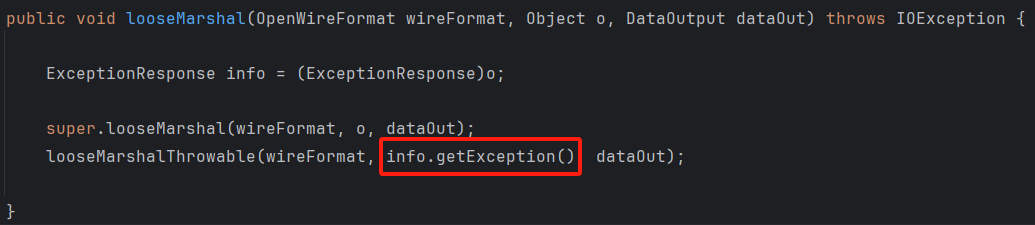
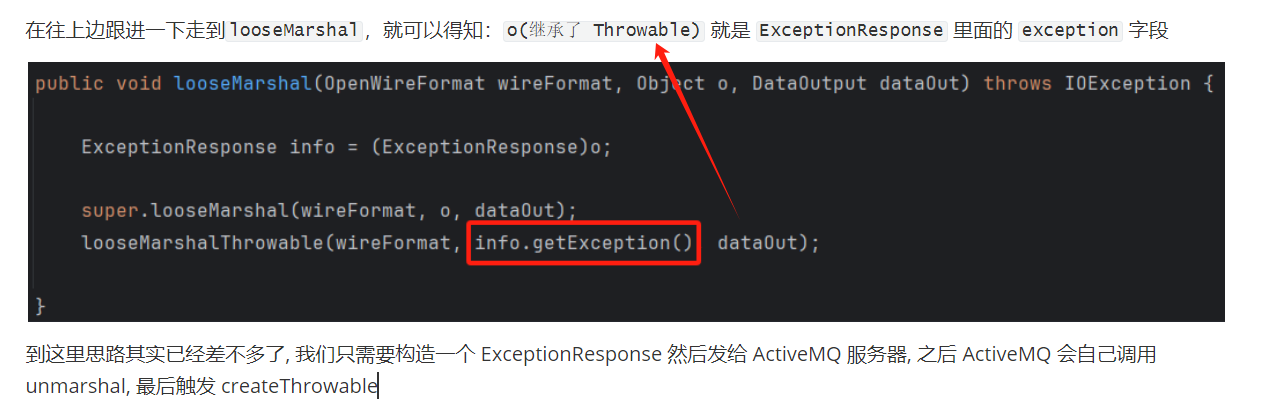
在往上边跟进一下走到looseMarshal,就可以得知:o(继承了 Throwable) 就是 ExceptionResponse 里面的 exception 字段
到这里思路其实已经差不多了, 我们只需要构造一个 ExceptionResponse 然后发给 ActiveMQ 服务器, 之后 ActiveMQ 会自己调用 unmarshal, 最后触发 createThrowable
0x05 调试
回到链子的最顶端,ExceptionResponseMarshaller#looseUnmarshal,继续往上跟,然后走到了org.apache.activemq.openwire.OpenWireFormat#doUnmarshal
就在这块下个断点,使用上边的demo,然后我们调试一下
1 | import org.apache.activemq.ActiveMQConnectionFactory; |
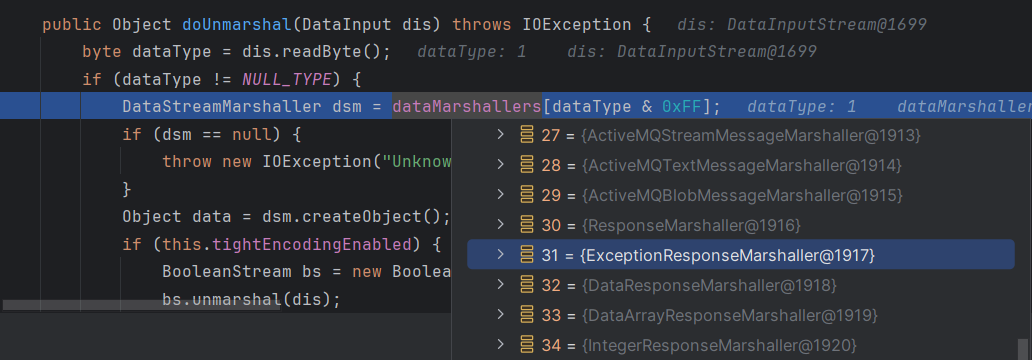
先获取 dataType, 然后根据它的值去 this.dataMarshallers 里面获取对应的序列化器
而 ExceptionResponse 的 dataType 是 31, 对应上图中的 ExceptionResponseMarshaller
获取到了对应的序列化器之后, 会调用它的 tightUnmarshal / looseUnmarshal 方法进一步处理 Message 内容
对于不同的 Message 类型, 有对应序列化器会单独进行处理
所以现在的思路就是如何发送一个经过ExceptionResponseMarshaller处理的 ExceptionResponse
到这块基本咱就不太行了,后边的思路都是跟着X1r0z 师傅的分析来的 https://exp10it.io/2023/10/apache-activemq-%E7%89%88%E6%9C%AC-5.18.3-rce-%E5%88%86%E6%9E%90/
在 org.apache.activemq.openwire.OpenWireFormat#marshal 系列方法下断点,往前可以看到 TcpTransport 这个类
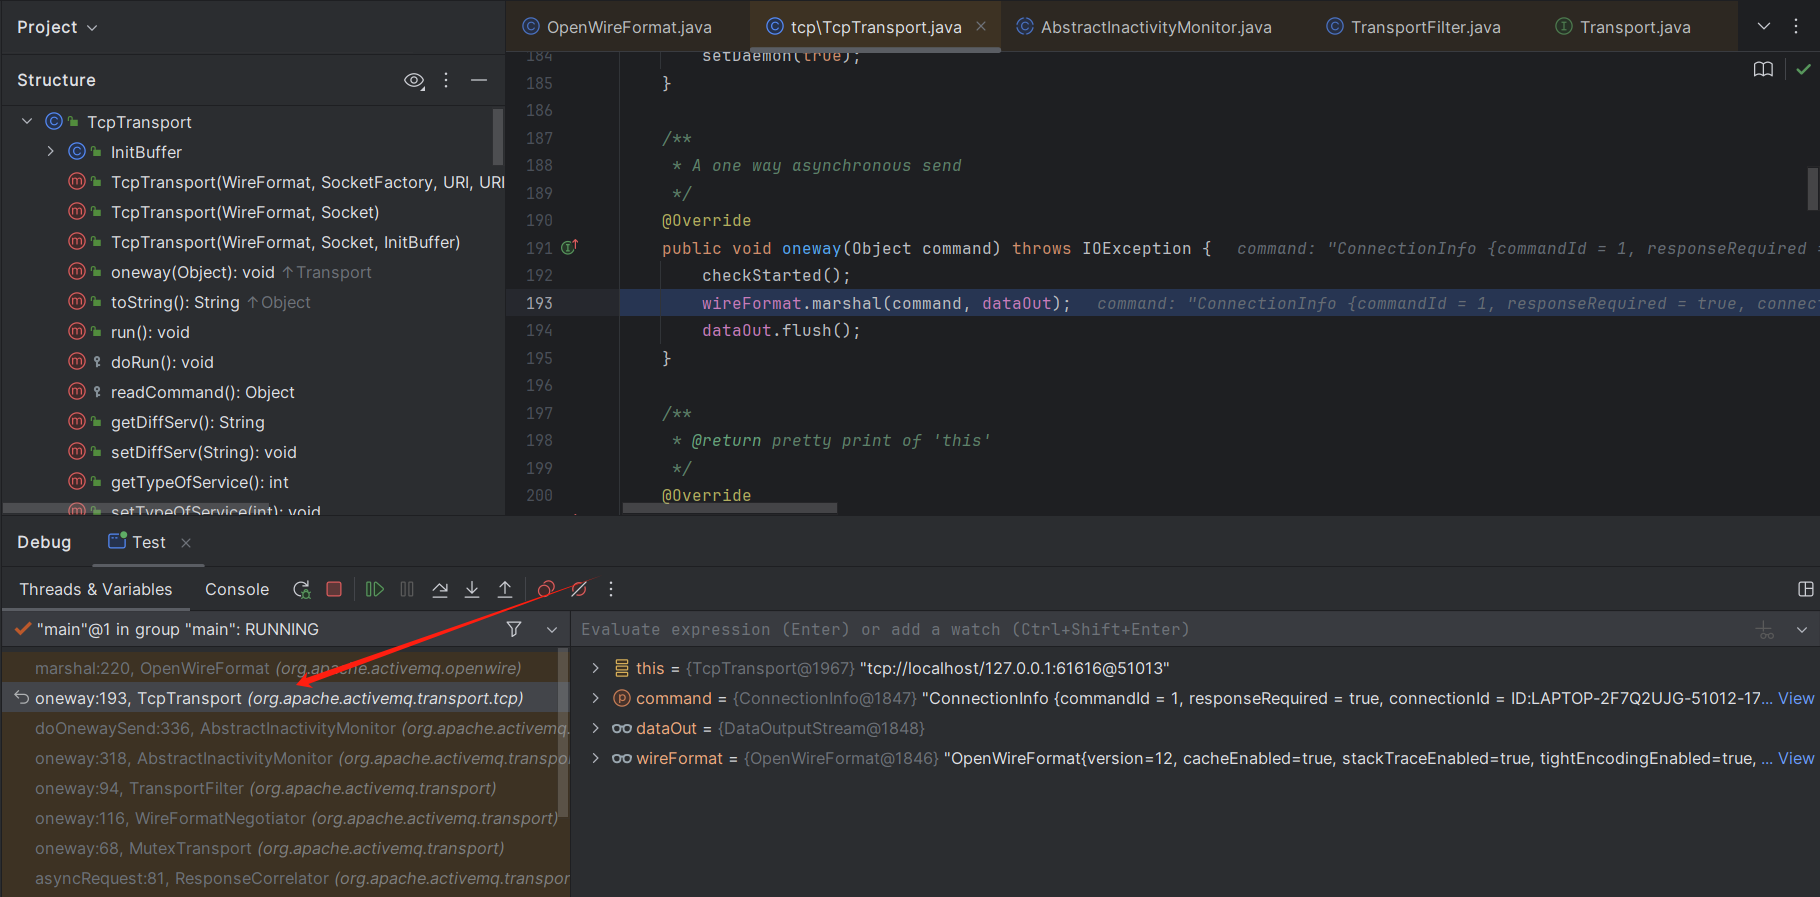
1 | public void oneway(Object command) throws IOException{ |
oneway 方法会调用 wireFormat.marshal() 去序列化 command
command 就是前面准备发送的 Message, 而 wireFormat 就是和它对应的序列化器
那么我们只需要手动 patch 这个方法, 将 command 改成 ExceptionResponse, 将 wireFormat 改成 ExceptionResponseMarshaller 即可
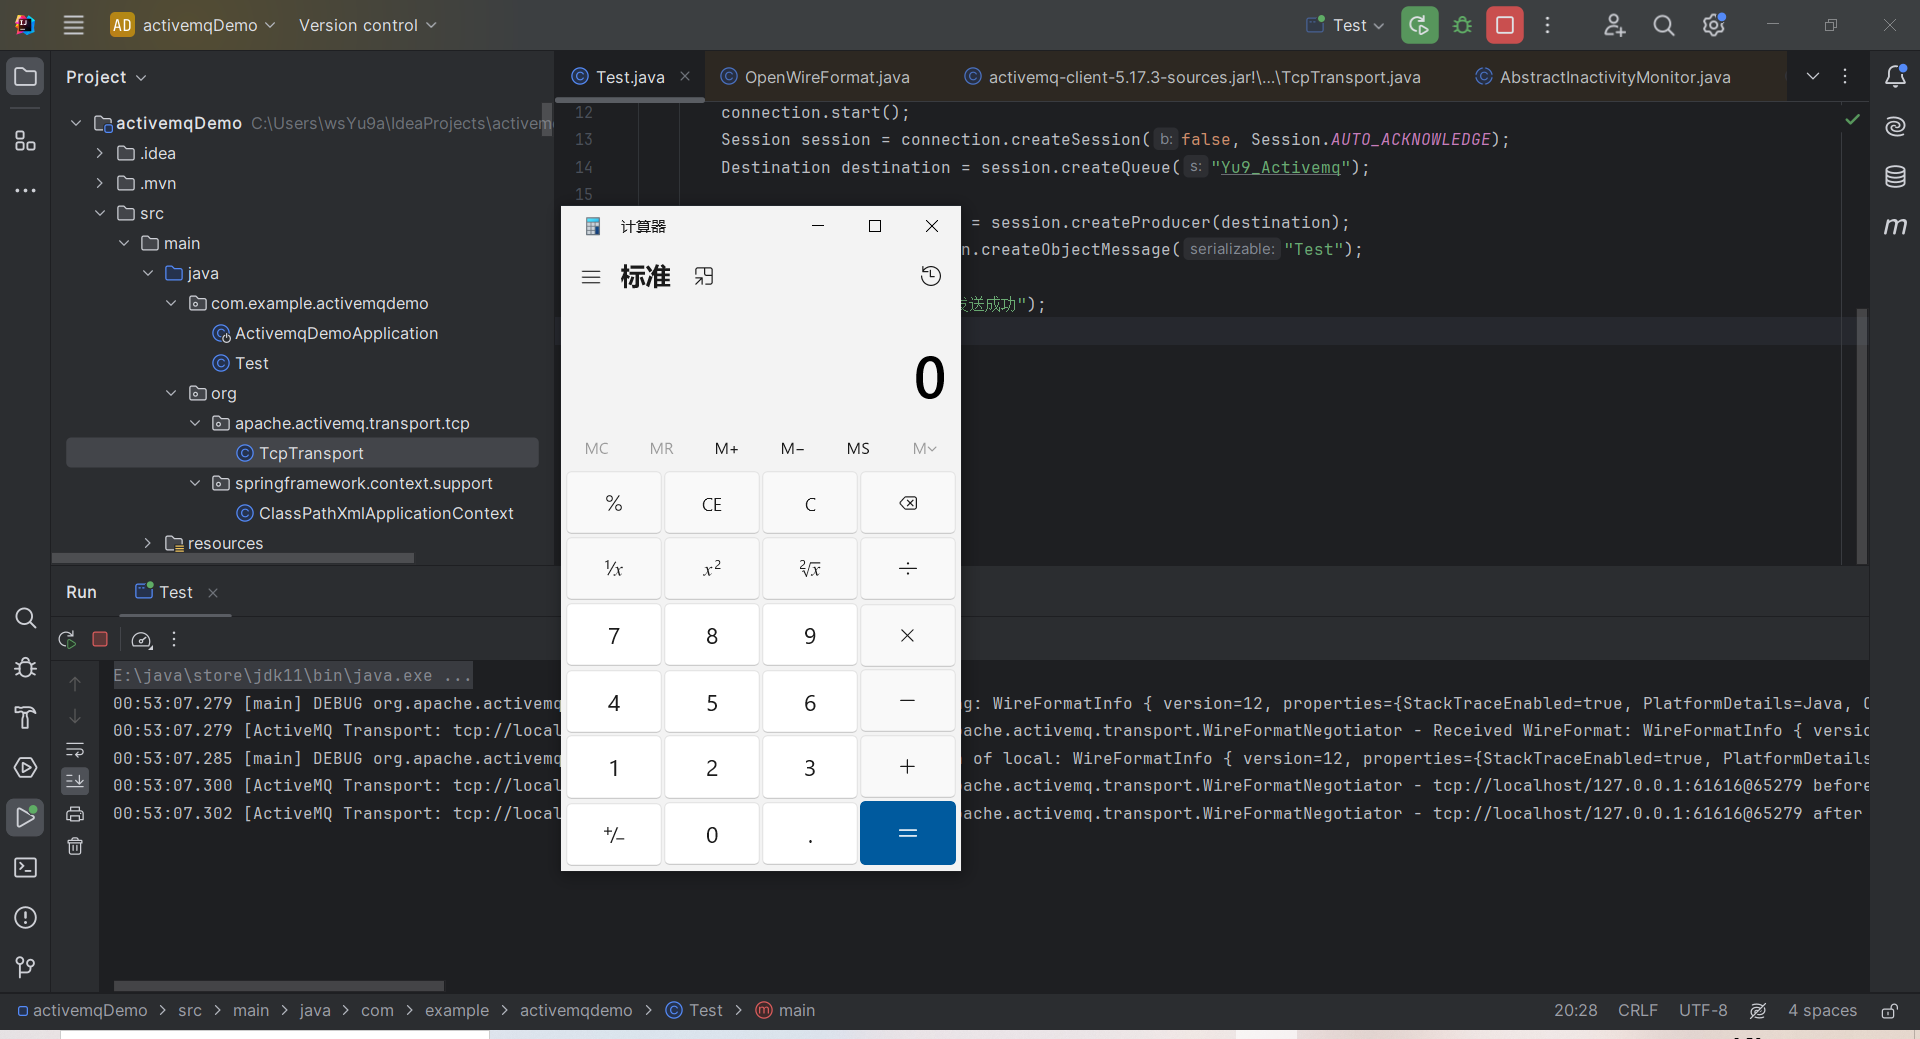
在当前源码目录下新建一个 org.apache.activemq.transport.tcp.TcpTransport 类, 然后重写对应的逻辑, 这样在运行的时候, 因为 classpath 查找顺序的问题, 程序就会优先使用当前源码目录里的 TcpTransport 类
因为 ActiveMQ 自带 spring 相关依赖, 那么就可以利用 ClassPathXmlApplicationContext 加载 XML 实现 RCE
TcpTransport.java
1 |
|
上边分析过o对象需继承Throwable
在 marshal 的时候会调用 o.getClass().getName() 获取类名, 而 getClass 方法无法重写 (final), 所以这里同样需要 patchorg.springframework.context.support.ClassPathXmlApplicationContext, 使其继承 Throwable 类
ClassPathXmlApplicationContext.java
1 | package org.springframework.context.support; |
poc.xml
1 | <?xml version="1.0" encoding="UTF-8" ?> |
最后成功RCE
0x06 参考
https://exp10it.io/2023/10/apache-activemq-%E7%89%88%E6%9C%AC-5.18.3-rce-%E5%88%86%E6%9E%90/